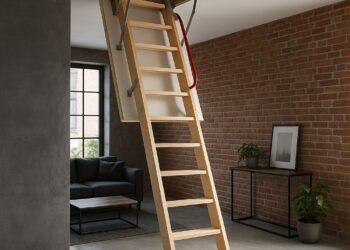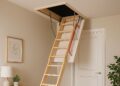


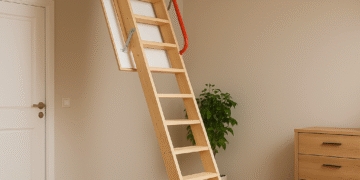
If you’ve recently created a new loft space or have had one for some time, installing a loft ladder is essential for easy and safe access. Loft ladders transform unused attic areas into comfortable, functional living spaces by providing a secure and convenient way to reach them. Whether you’re interested in a wooden loft ladder for a classic aesthetic or a space-saving folding loft ladder, understanding the installation process and potential modifications is key to getting the most out of your investment.
This guide covers everything from choosing the right loft ladder size to a detailed step-by-step installation process, along with advice on modifying your loft opening to accommodate your ladder. Whether you’re a DIY enthusiast or planning to hire a professional, this content will help you navigate your loft ladder project with confidence.
What Is the Loft Ladder Installation Process?
Installing a loft ladder involves several precise steps to ensure safety and functionality. The process begins with measuring the loft opening accurately, as this will determine the size and type of loft ladder best suited for your space. If your current loft hatch does not fit standard ladder measurements, modifications might be necessary.
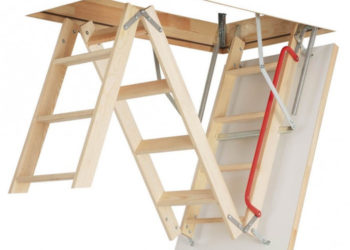
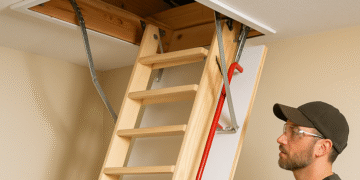
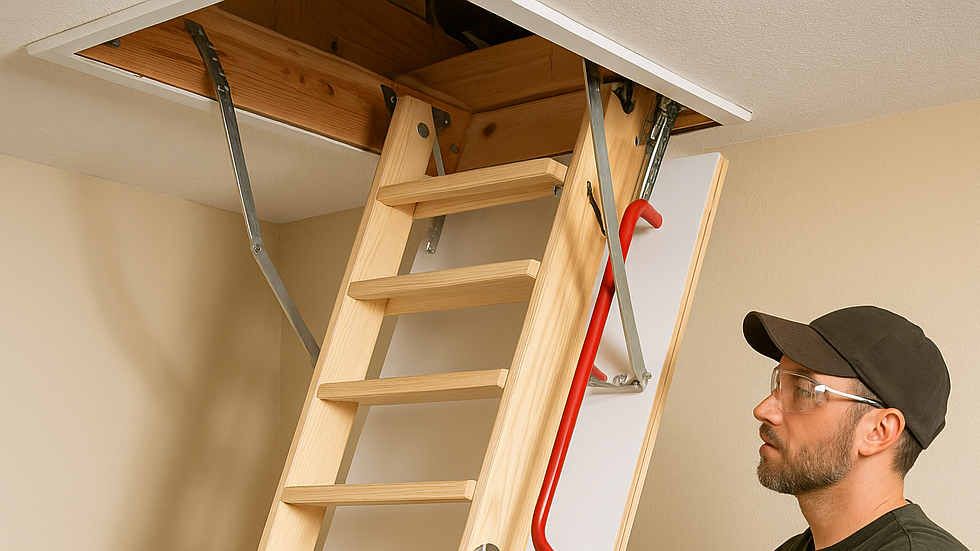
Once measurements and ladder choice are finalized, the next step involves preparing the loft opening by trimming or reinforcing the structural framing. This guarantees the ladder will be securely mounted. After preparing the opening, the ladder is attached using the supplied fixing brackets and screws, often requiring wall or ceiling mounts depending on the ladder design. Finally, the ladder is tested for stability and smooth operation. New installations generally include adjusting the ladder length to fit the floor-to-loft height perfectly.
This installation process blends technical skill with attention to detail, with safety considerations like load capacity and secure fittings forming the top priorities.
How Long Does Loft Ladder Installation Typically Take?
The installation of a loft ladder usually takes approximately 2 to 3 hours, depending on several key factors such as the type of loft ladder, complexity of any needed modifications, and installer experience. Wooden and folding loft ladders, for instance, may have different setup requirements affecting installation duration.
If no structural adjustments are required—for example, if the loft opening is already sized correctly—installation can be straightforward and completed within two hours. However, if enlarging the hatch or reinforcing the frame is needed, extra time should be allocated for careful cutting, measuring, and fixing new components.
Preparing all tools and materials beforehand also reduces downtime. Common tools required during installation include:
- Measuring tape
- Power drill and bits
- Screwdrivers
- Saw (if modifications needed)
- Level
Proper planning and professional assistance can help ensure the process runs smoothly within your intended time frame.
What Should You Know Before Enlarging a Loft Opening?
Before deciding to enlarge your loft opening for a ladder, it’s crucial to understand structural and safety considerations. Loft openings are typically designed with specific sizes in mind to preserve ceiling support beams and maintain the integrity of your floor and roof.
Enlarging the loft opening often involves:
- Locating and avoiding timber joists: Cutting into main support beams without reinforcement can weaken your structure.
- Obtaining necessary permissions: Some building codes require permits for structural modifications.
- Reinforcing the new opening: Adding additional joists or support frames ensures safety and stability.
Larger loft openings allow the use of more substantial or wider loft ladders, making access easier, especially for bulky items or high-traffic lofts. However, improper enlargement may lead to sagging ceilings or costly repairs.
If unsure about your home’s structural layout, consulting a structural engineer or experienced carpenter before making modifications is highly advised.
How to Choose the Right Loft Ladder for Your Space?
Choosing the right loft ladder depends on your loft dimensions, style preference, and functional needs. Key factors to consider include:
- Loft ladder sizes: Measure both the height from floor to loft and the opening size to find compatible models.
- Type of ladder:
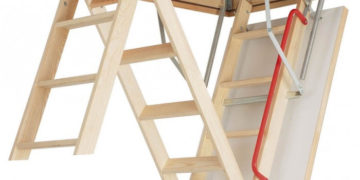
- Folding loft ladders, ideal for saving space when not in use.
- Fixed or telescopic ladders, preferred for frequent use and sturdiness.
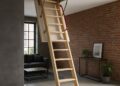
- Wooden loft ladders, for aesthetic appeal matching traditional decor.
- Material quality and load capacity: Ensure the ladder supports expected user weight safely.
- Space constraints: For small spaces, compact models designed specifically for tight openings work best.
By assessing your specific needs alongside these criteria, you can select a loft ladder that blends safety, convenience, and style perfectly.
What Are Common Modifications Needed for Loft Ladder Installation?
Often, loft ladder installation requires some modification to either the loft space or ladder itself to ensure a successful fit. Common modifications include:
- Adjusting the loft opening size: Enlarging or reinforcing the hatch frame for proper ladder fitting.
- Custom-cutting the ladder length: Trimming telescopic or folding ladders to suit floor-to-loft ceiling height.
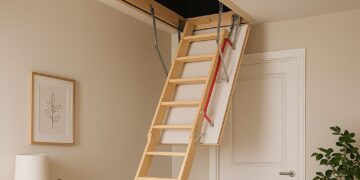
- Adding handrails or grip supports: Enhancing safety on steeper or longer ladders.
- Installing stairwell lighting: To improve visibility when accessing the loft, particularly in low-light conditions.
- Fixing non-standard hatch covers: Sometimes, creating or adapting hatch doors for smoother ladder operation is necessary.
These modifications help tailor the loft ladder installation to your unique space, improving both utility and safety.
Installing a loft ladder doesn’t just add accessibility—it transforms your loft into a truly versatile living area. With the right ladder, proper installation, and thoughtful modifications, you’re set to enjoy your loft space more than ever before!
 (No Ratings Yet)